During the autumn and winter months, hanging your laundry outside isn’t always practical.
It doesn’t get light until later in the morning and the sun goes down much earlier. On the shortest winter’s day the sun rises after 8am and sets before 4pm. That’s less than 8 hours of daylight.
On a working day this means hanging out your washing and retrieving it in the dark. What’s more, autumn and winter days are also much colder and wetter. These aren’t exactly the right conditions for having that shirt ready for work tomorrow.
So, what’s the alternative?
Drying your Clothes Indoors
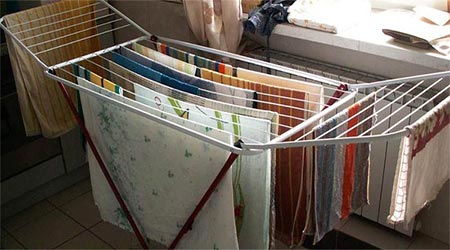
If you can’t accomplish it outdoors then you’ll have to dry your clothes indoors.
At first it might seem like a good idea. You can’t dry them outside, so dry them inside. It’s drier, it’s warmer and it’s cheaper and more environmentally-friendly than switching on the tumble drier.
But think again.
Wet clothes in the home can increase the damp in your property by around 30%. By increasing the moisture levels in your home you’ll be adding to your damp problem.
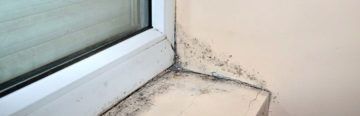
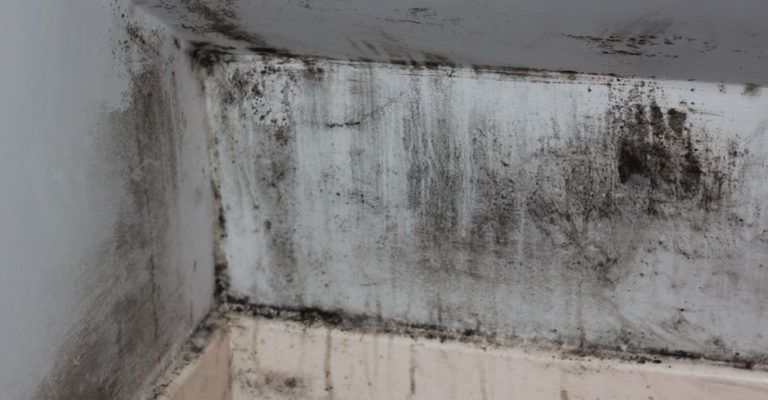
You could also be creating the perfect environment for black mould. It is well known that the spores of stachybotrys chartarum can be a serious health hazard, particularly for children, pregnant women and the elderly.
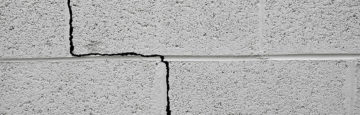
As well as posing a health risk, you’ll have increased condensation in your home. You’ll have damp patches on your walls, condensation on your windows and black mould on your window frames.
And yet, despite all these negatives, over 80% of people in the UK still dry their clothes indoors. A single load of clothes can contain as much as 2 litres of water, so that’s a lot of damp!
Reducing the Moisture in Your Home
If you absolutely must dry your clothes indoors, there are a number of things you can do to mitigate the risks of having condensation.
- Open a window. This is the easiest thing you can do to let out the extra moisture. Open a single window in the room where you are drying your clothes and let the natural ventilation do its job.
- Buy yourself a dehumidifier. These can be relatively cheap compared to a tumble dryer and will draw the water droplets from the air. You will still have to empty the water collector.
- Get a tumble dryer. It will cost you a lot more than simply opening a window and is more expensive than a dehumidifier but at least you’ll be sending all that extra moisture outside. And your clothers will be drier quicker too.
- Install extractor fans. Whilst relatively cheap to buy, an extractor fan kit will need to be fitted by an expert. Usually installed in the kitchen, bathroom or a cloakroom (downstairs toilet), turn on your extractor fan whilst you’re drying your load.
So, with all these potential options, there should be something you can do to avoid drying your clothes at home in a manner that will cause damp in your home.
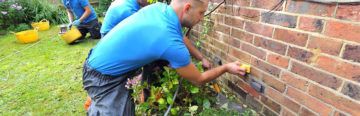
If you are still having damp problems then it might well be worth giving us a call so that one of our experts can conduct a damp survey.
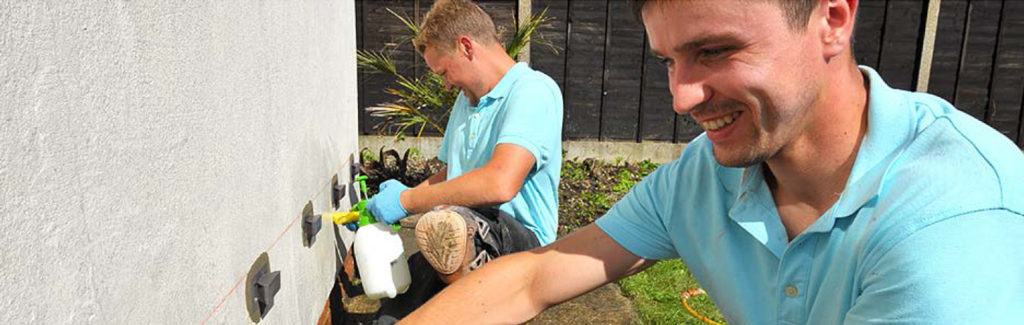
At Frank Schrijver we are damp experts and the Schrijver system of damp control is a green alternative to chemical-heavy methods of damp proofing.
Give us a call on 01689 800101 or drop us an email at info@damp.co.uk